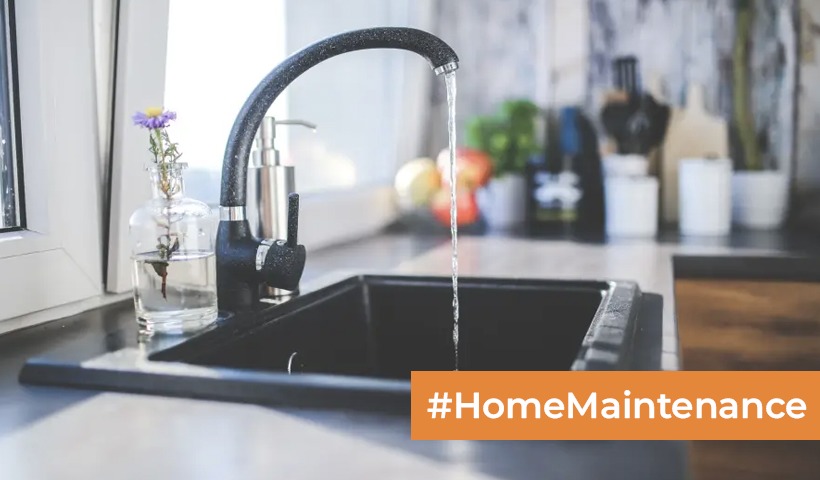
Revive Your Faucet: A DIY Guide to Refreshing Your Faucet Head!
A clean and functional faucet is essential in every kitchen and bathroom. Over time, mineral deposits, grime, and debris can accumulate in the faucet head, affecting water flow and compromising the appearance of your fixtures. Fortunately, cleaning a faucet head is a simple task that can improve both the performance and aesthetics of your faucet. In this guide, we’ll walk you through the easy steps to clean a faucet head effectively.
Materials You’ll Need:
- White vinegar
- Plastic bag or small plastic container
- Rubber band or twist tie
- Old toothbrush or soft brush
- A clean cloth or sponge
- Adjustable wrench or pliers (if necessary)
Step 1: Gather Your Supplies
Before you start, make sure you have all the necessary materials and tools on hand. This ensures that you can complete the cleaning process without interruptions.
Step 2: Remove the Faucet Head
In most cases, you can easily unscrew the faucet head by hand. However, if it’s tightly attached or has accumulated mineral deposits that make it difficult to remove, use an adjustable wrench or pliers. Wrap a cloth around the faucet head to protect it from scratches, then use the wrench or pliers to carefully loosen and remove the head.
Step 3: Disassemble the Faucet Head
If your faucet head has removable components, disassemble it carefully. Some faucet heads have screens or aerators that can be unscrewed from the main body. If applicable, remove these parts for a more thorough cleaning.
Step 4: Soak in Vinegar Solution
Fill a plastic bag or a small plastic container with white vinegar. Place the faucet head and any disassembled components inside, ensuring they are fully submerged in the vinegar. Use a rubber band or twist tie to secure the bag or container in place so that the faucet head is soaking in the vinegar solution.
Step 5: Scrub and Rinse
After allowing the faucet head to soak for at least 30 minutes (or longer for stubborn mineral deposits), remove it from the vinegar solution. Use an old toothbrush or a soft brush to gently scrub away any remaining deposits and debris. Pay special attention to the small holes and crevices in the faucet head.
Step 6: Reassemble and Reattach
Once you’re satisfied with the cleanliness of the faucet head and its components, rinse them thoroughly with water to remove any vinegar residue. Reassemble the faucet head if you disassembled it earlier. Finally, reattach the faucet head to the faucet fixture, making sure it’s tightly secured but not over-tightened to avoid damage.
Maintenance Tips:
- To prevent future buildup, consider using a water softener if you have hard water.
- Regularly wipe down your faucet head with a clean cloth or sponge to remove surface grime and mineral deposits.
- For a shiny finish, you can polish the faucet head with a mixture of equal parts water and vinegar or use a mild stainless steel cleaner.
By following these simple steps, you can keep your faucet head clean and in optimal working condition, ensuring a steady flow of water and a sparkling appearance for your fixtures.
Disclaimer: The views expressed above are for informational purposes only based on industry reports and related news stories. PropertyPistol does not guarantee the accuracy, completeness, or reliability of the information and shall not be held responsible for any action taken based on the published information.


